How to Handle Heal an Industrial Piercing Step by Step
When heal an industrial piercing leaves you confused, worried, or unsure what it means, a clear step-by-step approach can help you sort the signal from the stress. This guide explains how to understand the situation, reflect on what matters, choose a practical next step, and know when to ask for trusted support.
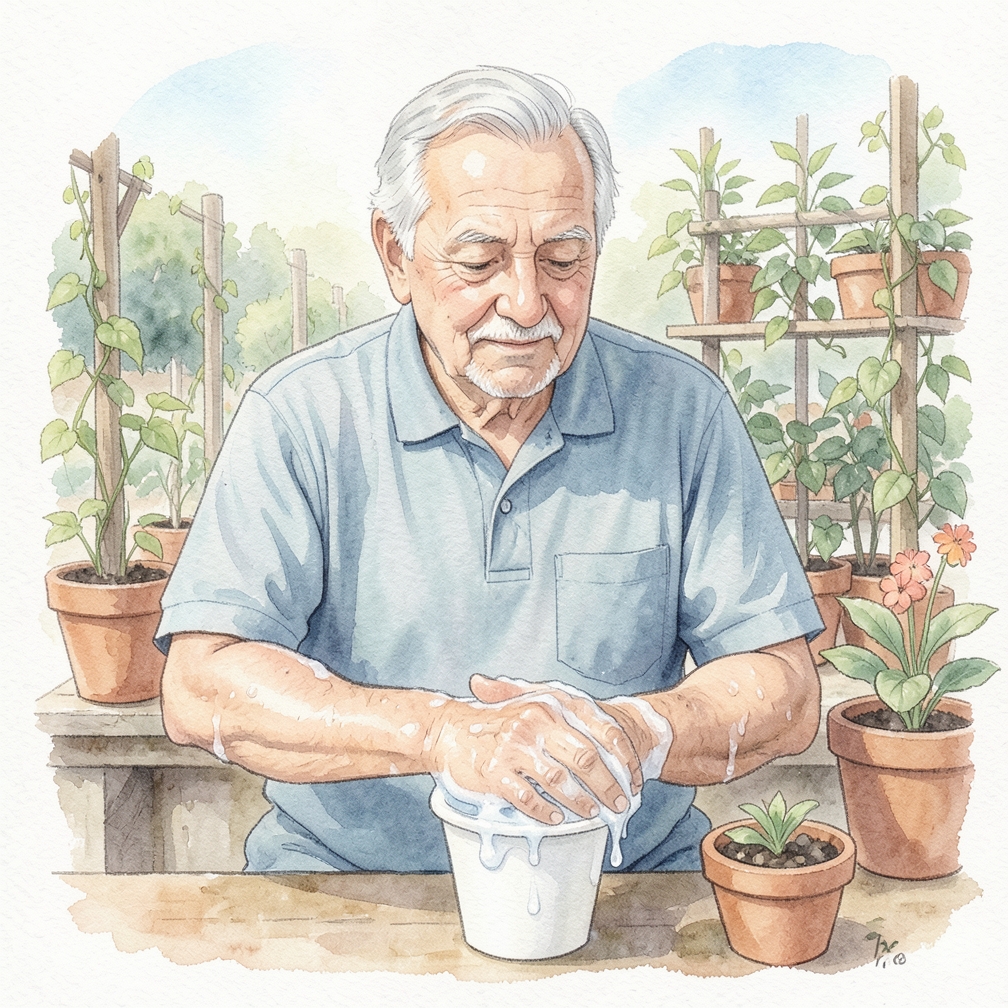
Wash your hands before cleaning the piercing site.
- Avoid touching the piercing site with unwashed hands.
- Wash your hands frequently throughout the day.
- Use soap and warm water to thoroughly clean your hands before you clean your ears to avoid introducing bacteria.
- Never touch the piercing site without washing your hands while the piercing is healing.
- Use soap and warm water to thoroughly clean your hands before you clean your ears to avoid introducing bacteria.
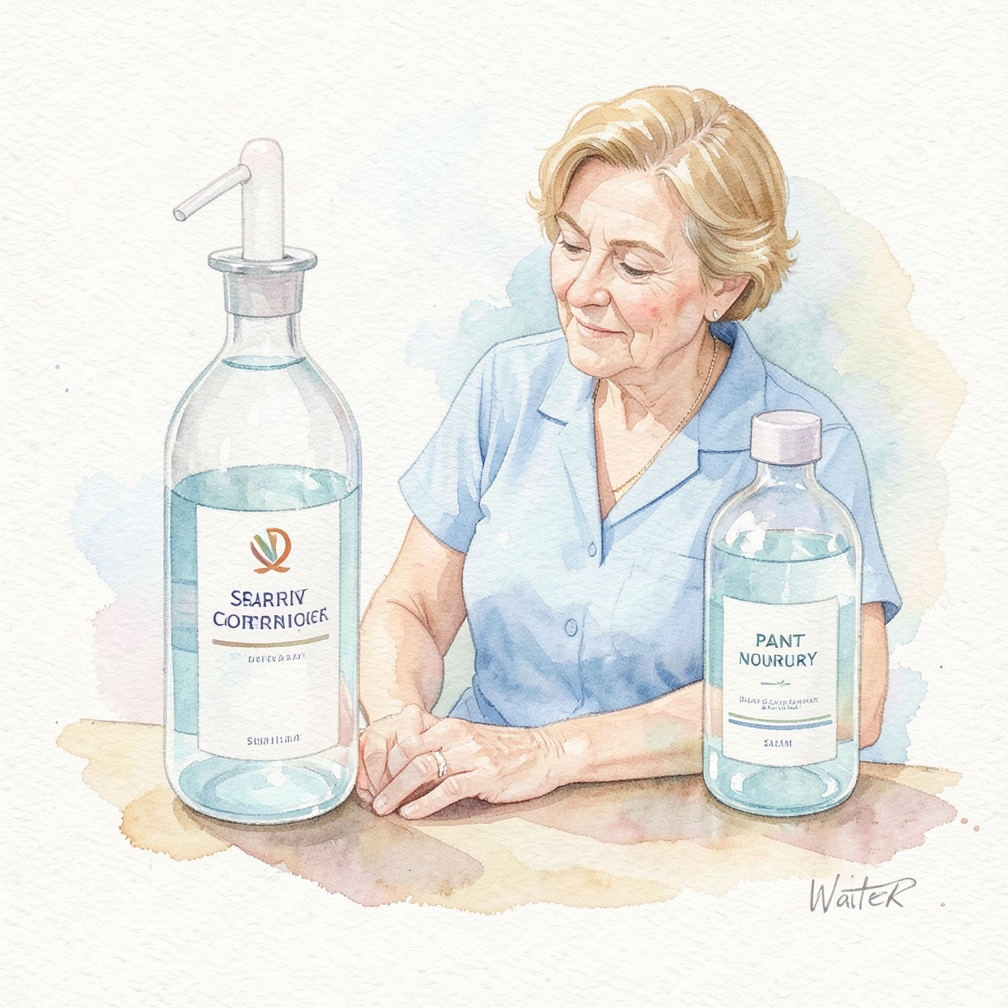
Buy saline solution to clean your piercings or make your own.
- Use a clean glass jar for mixing your solution.
- Avoid using tap water, as it may contain bacteria or other contaminants.
- There are several commercial saline solutions available — your piercer might have one they recommend.
- It's also easy to make your own solution and you'll save some money by doing so.
- Simply dissolve 1/8 to 1/4 teaspoon (0.75 to 1.42 grams) of non-iodized sea salt in one cup (8 ounces or 250 ml) of warm distilled or bottled water.
Soak the piercing area at least twice a day.

- Soak for 5-7 minutes to keep the area clean and promote healing.
- Avoid soaking in hot water, as it may cause irritation or delay healing.
- The location of an industrial piercing can make it difficult to completely submerge it in the sea-salt solution, which would be ideal.
- If you put your solution into a large bowl, you might be able to lower the top of your ear into the solution.
- You can also hold a soaked cloth or cotton swab to the piercing site.
Shield the piercing site from cosmetics or hair products.

- Use a clean towel to cover your ear when applying makeup or using hair products.
- Avoid touching the piercing site after applying these products.
- Spray products can easily get in the piercing site and cause an infection or make it take longer to heal.
- Covering your ear with a light cloth or even your (clean) hand should do the trick.
- Spray products can easily get in the piercing site and cause an infection or make it take longer to heal.
Arrange Your Hair and Pillowcase

- Style your hair in a way that keeps it away from your ear.
- Wear a hat or use a hair tie when you're not styling your hair.
- The hair around your ear can be a breeding ground for bacteria, so it's essential to keep it away from the piercing site.
- You should also put a clean T-shirt over your pillowcase each night to prevent dirt and dust from falling onto the piercing.
- Style your hair in a way that keeps it away from your ear.
- Wear a hat or use a hair tie when you're not styling your hair.
Avoid Oceans, Lakes, Pools, and Hot Tubs
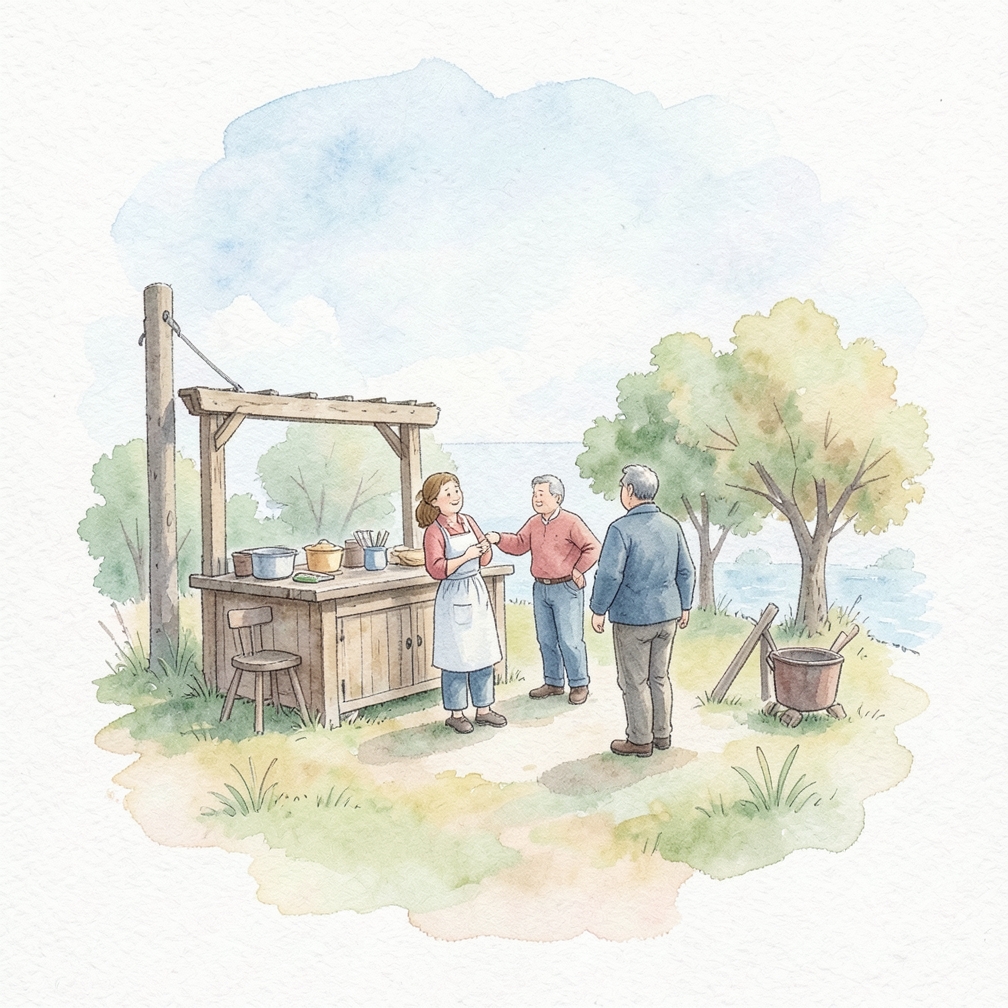
- Avoid swimming or participating in water activities for at least 2 months after getting pierced.
- Be cautious when using a pool or hot tub, as chlorine and other chemicals can irritate the piercing.
- The salt in these bodies of water can irritate the piercing and cause infection.
- Avoid swimming or participating in water activities for at least 2 months after getting pierced.
- Be cautious when using a pool or hot tub, as chlorine and other chemicals can irritate the piercing.
- The salt in these bodies of water can irritate the piercing and cause infection.
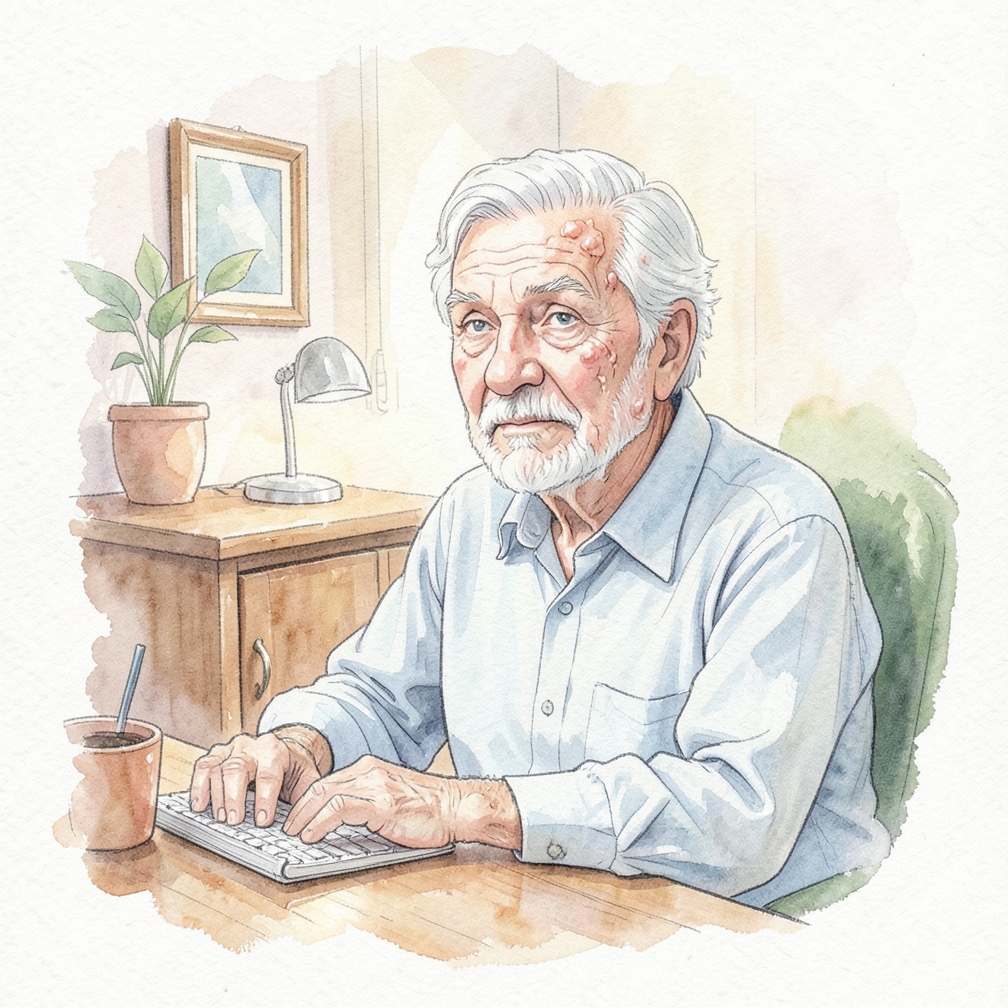
Monitoring for Keloids
- Distinguish between an infection and a keloid by looking for signs like redness, swelling, or increased pain.
- Cover the piercing with petroleum jelly and a bandage to protect it from irritation.
- Keloids are raised, thick scars that can form on the skin after a piercing. They're more common in people with darker skin tones, but anyone can get them.
- If you notice any signs of keloid formation, such as redness or swelling around the piercing site, take action to prevent it from becoming too large.
- Distinguish between an infection and a keloid by looking for signs like redness, swelling, or increased pain.
Removing Keloids

- Apply silicone gel bandages to the affected area to reduce swelling and flatten the keloid.
- Moisturize your skin regularly with oils that can help soften the scar tissue.
- Keloids are raised, thick scars that can form on the skin after a piercing. They're more common in people with darker skin tones, but anyone can get them.
- If you do develop a keloid, there are several treatments that can help remove it.
- Apply silicone gel bandages to the affected area to reduce swelling and flatten the keloid.
- Moisturize your skin regularly with oils that can help soften the scar tissue.
- Keloids are raised, thick scars that can form on the skin after a piercing. They're more common in people with darker skin tones, but anyone can get them.
- Apply silicone gel bandages to the affected area to reduce swelling and flatten the keloid.
Community Q&A
Be the first to ask a question about this guide.
References
- https://authoritytattoo.com/industrial-piercing/
- https://www.mayoclinic.org/healthy-lifestyle/adult-health/in-depth/piercings/art-20047317
- https://uhs.berkeley.edu/health-topics/body-piercings
- https://authoritytattoo.com/industrial-piercing-infection/
- https://www.ncbi.nlm.nih.gov/pmc/articles/PMC1781501/
- https://authoritytattoo.com/how-to-get-rid-of-keloids-on-piercings/
- https://www.uofmhealth.org/health-library/abp9862
Was this guide helpful?
27 people found this helpful
HowDadDo Around the World
Subscribe to the HowDadDo Newsletter
Get expert tips, weekly how-to guides, and dad wisdom delivered straight to your inbox. No spam, just good stuff.
Help us build the world's best
dad manual.
Every guide on HowDadDo is written and fact-checked by real people — no AI-generated fluff. Join our community of experts helping dads figure life out.