How to Handle Remove Window Tint Step by Step
When remove window tint leaves you confused, worried, or unsure what it means, a clear step-by-step approach can help you sort the signal from the stress. This guide explains how to understand the situation, reflect on what matters, choose a practical next step, and know when to ask for trusted support.
Using a Steamer
Roll your vehicle window down 1 ⁄ 4 inch (0.64 cm).
- Open your vehicle door so you can access the inside of the tinted window.
- Crack your window just a little so that you are able to reach the very top and see the edge of the tint.
- Open your vehicle door so you can access the inside of the tinted window.
- Crack your window just a little so that you are able to reach the very top and see the edge of the tint.
- Open your vehicle door so you can access the inside of the tinted window.
Steam
- both the outside and the inside of the windows.
- Any handheld clothing or upholstery steamer will work for this project.
- Hold the steamer 1–2 inches (2.5–5.1 cm) away from the window and steam the entire outside of the window first.
- Then, apply steam to the inside of the window.
- Work in long, sweeping motions from the top to the bottom and try to heat the pane of glass evenly.
Use a straight razor

- to lift up the edge of the tint.
- Carefully place a straight razor underneath the tint at one corner of the inside of the top of the window.
- Using a razor to loosen the edge of the tint will make it easier to peel off.
- to lift up the edge of the tint.
- Carefully place a straight razor underneath the tint at one corner of the inside of the top of the window.
Peel the tint off slowly while continuing to apply steam.

- Work slowly and pull the tint down from the top of the window toward the bottom of the window.
- Keep applying steam, paying special attention to any particularly stubborn spots.
- Work slowly and pull the tint down from the top of the window toward the bottom of the window.
- Keep applying steam, paying special attention to any particularly stubborn spots.
- Work slowly and pull the tint down from the top of the window toward the bottom of the window.
Remove any remaining adhesive with a commercial cleaner.
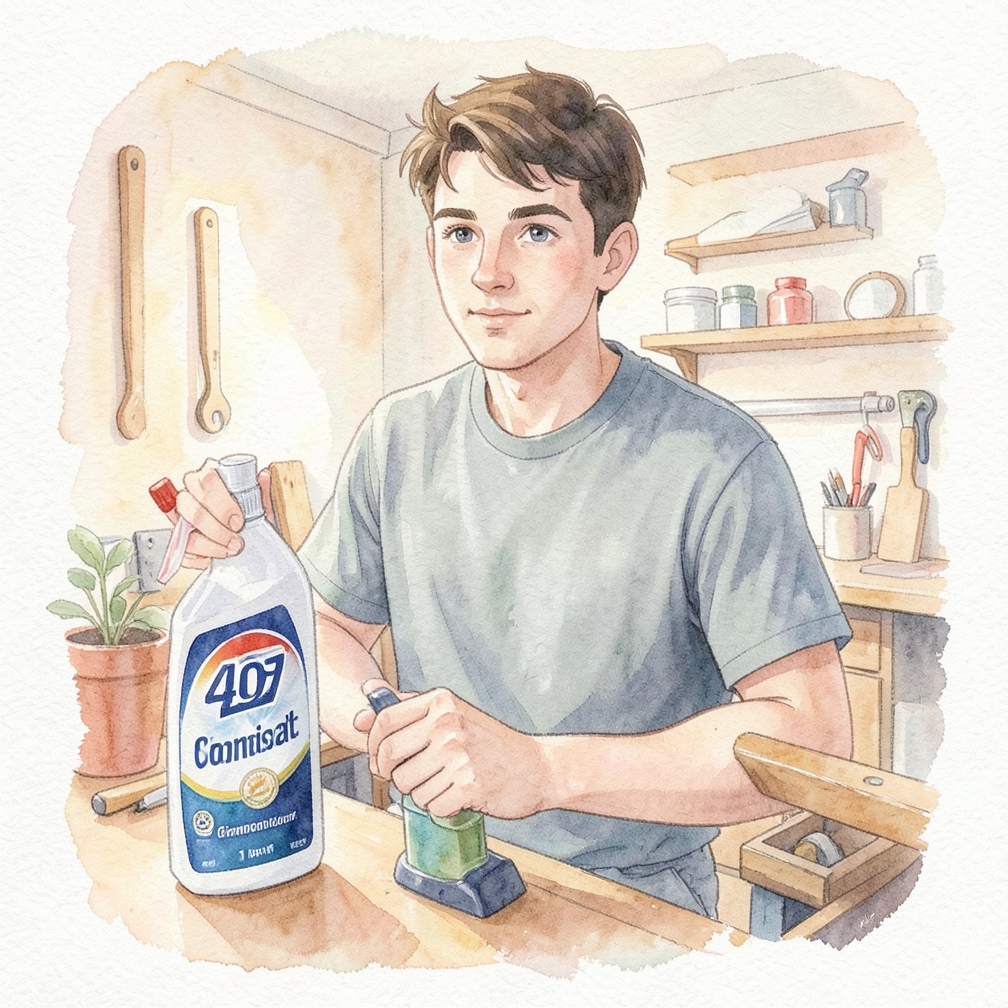
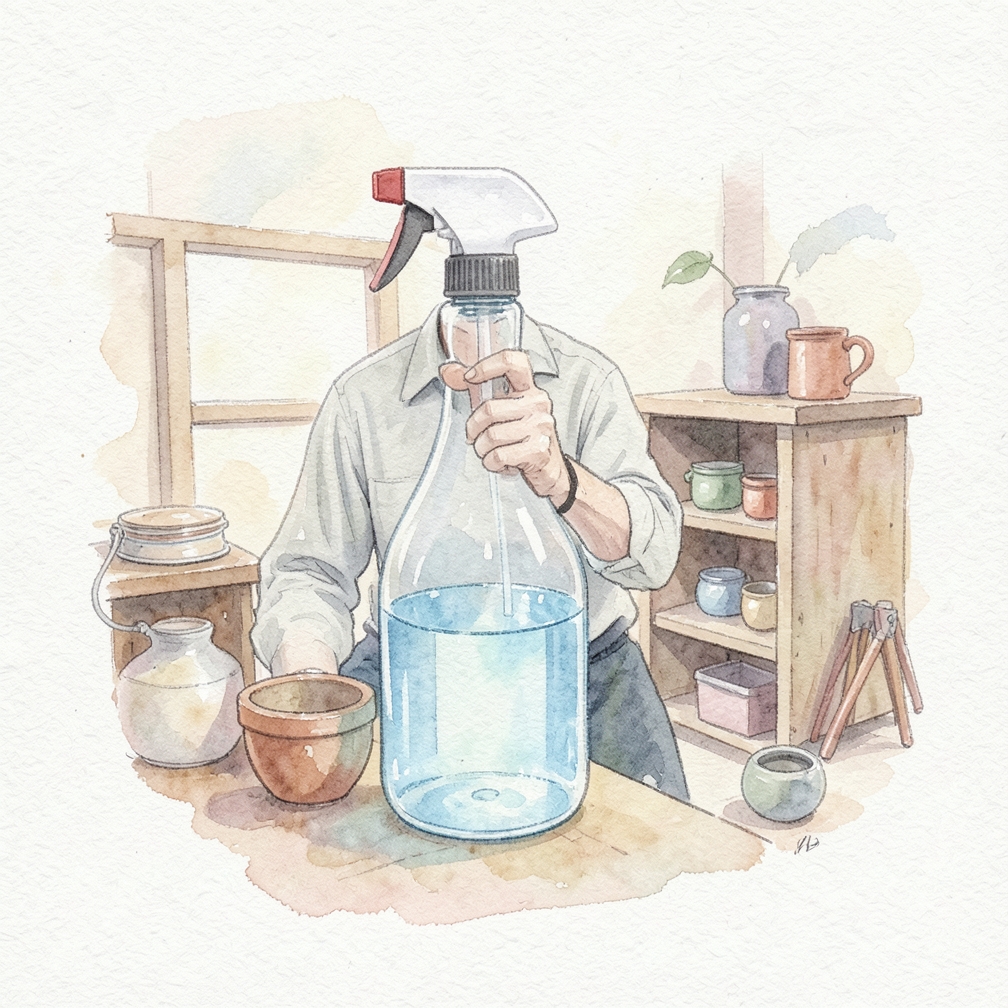
- Mix 1 part commercial cleaner, like 409, and 1 part water in a spray bottle so you can easily apply it to the window.
- Spray it on and scrub the glue spots with a non-scratch pad, then dry the glass with a paper towel.
- Mix 1 part commercial cleaner, like 409, and 1 part water in a spray bottle so you can easily apply it to the window.
- Spray it on and scrub the glue spots with a non-scratch pad, then dry the glass with a paper towel.
- Mix 1 part commercial cleaner, like 409, and 1 part water in a spray bottle so you can easily apply it to the window.
Steam the back window of your vehicle for 7 minutes before peeling the tint away.
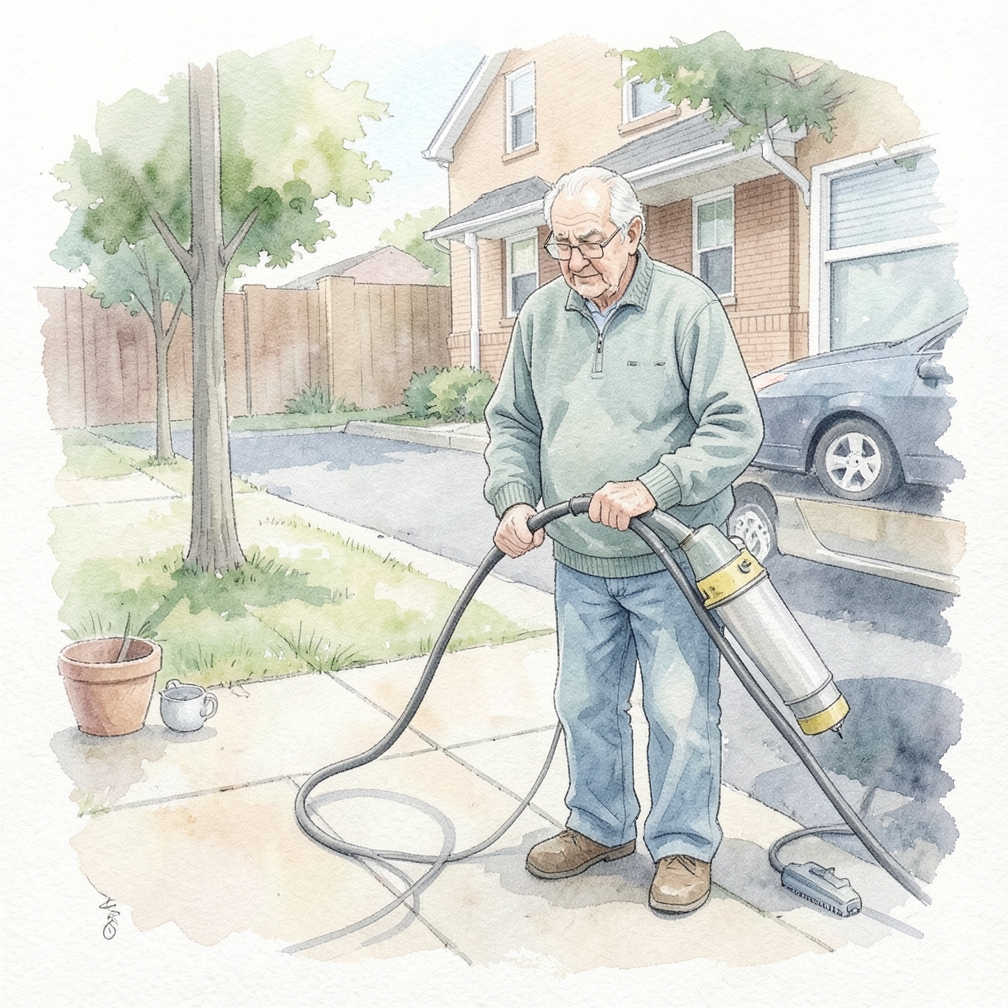
- If you’re working on a vehicle, position the steamer right up against the interior glass of the back window.
- Tie something around the trigger to keep it going and prop up the steamer so it stays in place.
- Close the doors to your vehicle and let the steamer run for 7 or more minutes.
- If you’re working on a vehicle, position the steamer right up against the interior glass of the back window.
- Tie something around the trigger to keep it going and prop up the steamer so it stays in place.
Applying Ammonia
Mask the door panels of your vehicle or the window frame in your home.
- To protect them from the ammonia, cover the interior door panels or window frame with tarps or plastic sheeting and tape it in place.
- Don’t use newspaper or another absorbent material as the ammonia will soak through it.
- To protect them from the ammonia, cover the interior door panels or window frame with tarps or plastic sheeting and tape it in place.
- Don’t use newspaper or another absorbent material as the ammonia will soak through it.
- To protect them from the ammonia, cover the interior door panels or window frame with tarps or plastic sheeting and tape it in place.
Cut black garbage bags to the size of your windows.

- Place a black garbage bag over one of the windows and use a metallic marker to trace the outline.
- Cut it out and separate the bag so you have 2 pieces: 1 for the inside of the window and 1 for the outside.
- Repeat for each window.
- Place a black garbage bag over one of the windows and use a metallic marker to trace the outline.
- Cut it out and separate the bag so you have 2 pieces: 1 for the inside of the window and 1 for the outside.
Apply soapy water to the outside of the windows and put the garbage bags on top.
- Fill a spray bottle three-quarters full of water and add a squirt of dish soap.
- Shake up the bottle and spray the outside of each window.
- Then, place a garbage bag to the glass so it covers it completely.
- Fill a spray bottle three-quarters full of water and add a squirt of dish soap.
- Shake up the bottle and spray the outside of each window.
Spray ammonia on the inside of the windows and cover them with the garbage bags.

- Fill another spray bottle with ammonia.
- Spritz the inside of a window so it’s fully saturated then press the garbage bag into place so it covers the glass.
- The liquid should hold the plastic in place all on its own, but you could use masking tape to secure the bags if necessary.
- Repeat for each window.
- Fill another spray bottle with ammonia.
Remove the bags and peel the tint away.
- Take off the garbage bags, then use a razor to peel 1 corner of the tint away from the window so you can grip it.
- Slowly and carefully pull the tint away from the glass from one edge of the window to the other.
- Take off the garbage bags, then use a razor to peel 1 corner of the tint away from the window so you can grip it.
- Slowly and carefully pull the tint away from the glass from one edge of the window to the other.
- Take off the garbage bags, then use a razor to peel 1 corner of the tint away from the window so you can grip it.
Use ammonia and steel wool to remove any glue stuck to the windows.

- Once you’ve gotten all of the tint off, spray the window with ammonia again.
- Scrub any stuck-on adhesive with fine steel wool.
- Then, wipe away the debris and liquid with newspaper.
- Once you’ve gotten all of the tint off, spray the window with ammonia again.
- Scrub any stuck-on adhesive with fine steel wool.
Community Q&A
Be the first to ask a question about this guide.
References
- https://auto.howstuffworks.com/under-the-hood/vehicle-maintenance/how-to-apply-car-window-tint.htm
- https://youtu.be/6J8CIzHHUnE?t=162
- https://youtu.be/6J8CIzHHUnE?t=1019
- https://youtu.be/6J8CIzHHUnE?t=828
- https://youtu.be/6J8CIzHHUnE?t=891
- https://youtu.be/6J8CIzHHUnE?t=777
- https://youtu.be/Ce9R01ovyoM?t=113
- https://youtu.be/Ce9R01ovyoM?t=148
- https://youtu.be/Ce9R01ovyoM?t=276
- https://youtu.be/Ce9R01ovyoM?t=29
Was this guide helpful?
33 people found this helpful
HowDadDo Around the World
Subscribe to the HowDadDo Newsletter
Get expert tips, weekly how-to guides, and dad wisdom delivered straight to your inbox. No spam, just good stuff.
Help us build the world's best
dad manual.
Every guide on HowDadDo is written and fact-checked by real people — no AI-generated fluff. Join our community of experts helping dads figure life out.