How to Handle Tape a Foot for Plantar Fasciitis Step by Step
When tape a foot for plantar fasciitis leaves you confused, worried, or unsure what it means, a clear step-by-step approach can help you sort the signal from the stress. This guide explains how to understand the situation, reflect on what matters, choose a practical next step, and know when to ask for trusted support.
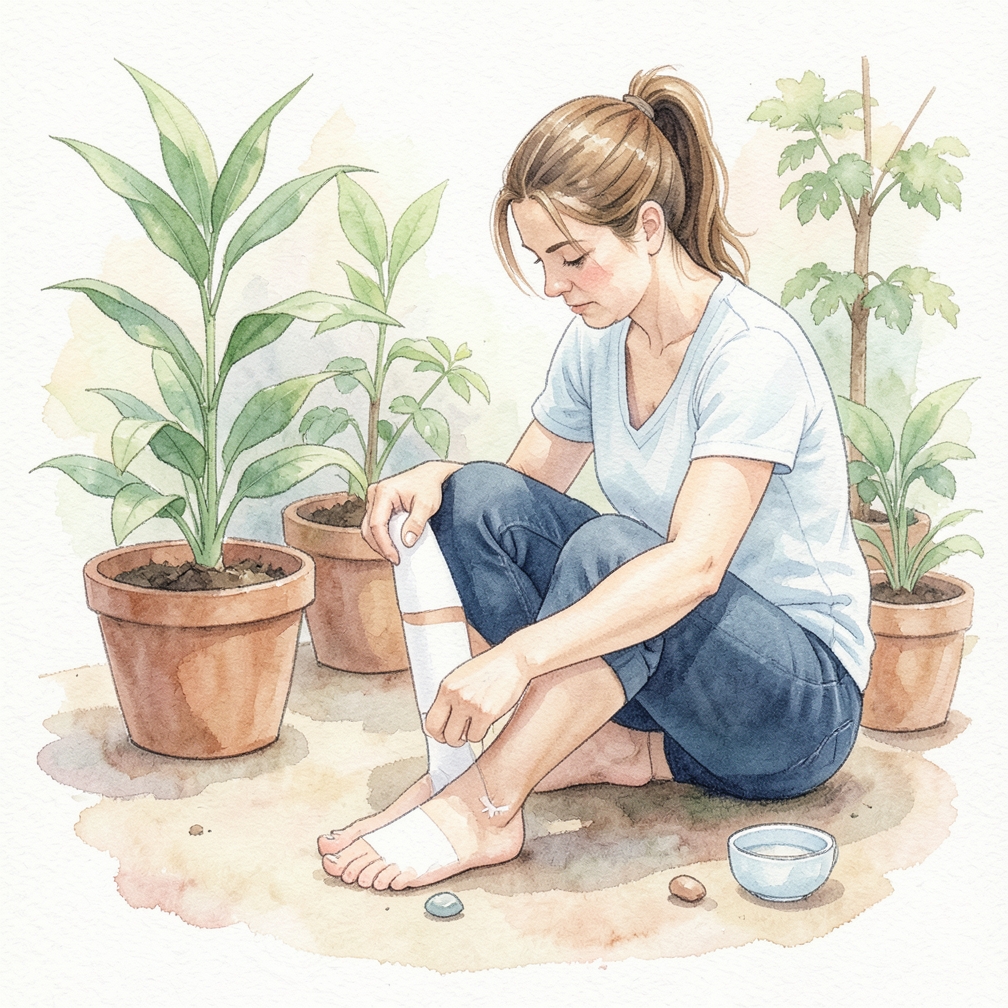
Using Sports Tape To Treat Plantar Fasciitis
Gather your materials.
- You need sports tape to tape your foot using this method.
- You can get rolls of sports tape at superstores, supermarkets, or drugstores.
- A roll of zinc oxide tape should last for three to five tapings.
- You need sports tape to tape your foot using this method.
- You can get rolls of sports tape at superstores, supermarkets, or drugstores.
Anchor the tape.

- To start the taping process, tape a piece of tape around the ball of your foot.
- This is the area just behind your toes on your foot.
- Make sure your foot is relaxed during the taping.
- Wrap the tape all the way around so it's on the top and bottom of your foot.
- To start the taping process, tape a piece of tape around the ball of your foot.
Cross the foot with tape.

- Stick one end of the tape on your foot just below your big toe.
- Then tape diagonally across the bottom of your foot.
- Wrap the tape around the hell, then tape it diagonally the other way across the bottom of your foot.
- Take the end under your pinky toe.
- Stick one end of the tape on your foot just below your big toe.
Tape horizontally.

- The last step of the taping is to tape horizontal lines along the sole of your foot.
- These horizontal strips of tape will overlap so that you cannot see any of your foot.
- They will cover the entire bottom of your foot from the heel to the anchor going around the ball of your foot.
- The last step of the taping is to tape horizontal lines along the sole of your foot.
- These horizontal strips of tape will overlap so that you cannot see any of your foot.
Tape throughout the day.
- You should tape your feet whenever you are going to engage in a lot of physical activity, such as before exercising or before going to work.
- You should tape your feet whenever you are going to engage in a lot of physical activity, such as before exercising or before going to work.
- You should tape your feet whenever you are going to engage in a lot of physical activity, such as before exercising or before going to work.
- You should tape your feet whenever you are going to engage in a lot of physical activity, such as before exercising or before going to work.
- You should tape your feet whenever you are going to engage in a lot of physical activity, such as before exercising or before going to work.
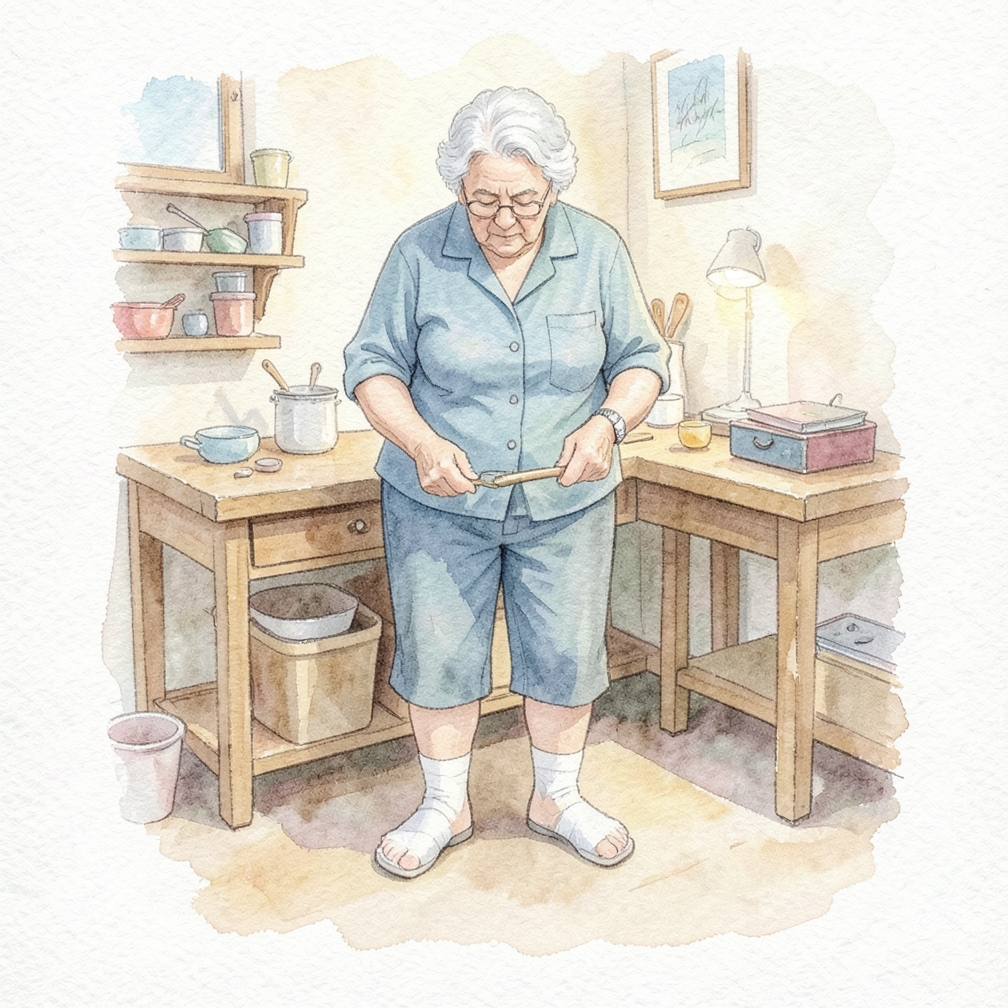
Using A Homemade Night Splint To Treat Plantar Fasciitis
Gather the materials.

- To stretch your foot, you will need a few items.
- You will need a long shoelace or ribbon.
- You also will need a tube sock you have modified.
- To stretch your foot, you will need a few items.
- You will need a long shoelace or ribbon.
Sit in a comfortable position.
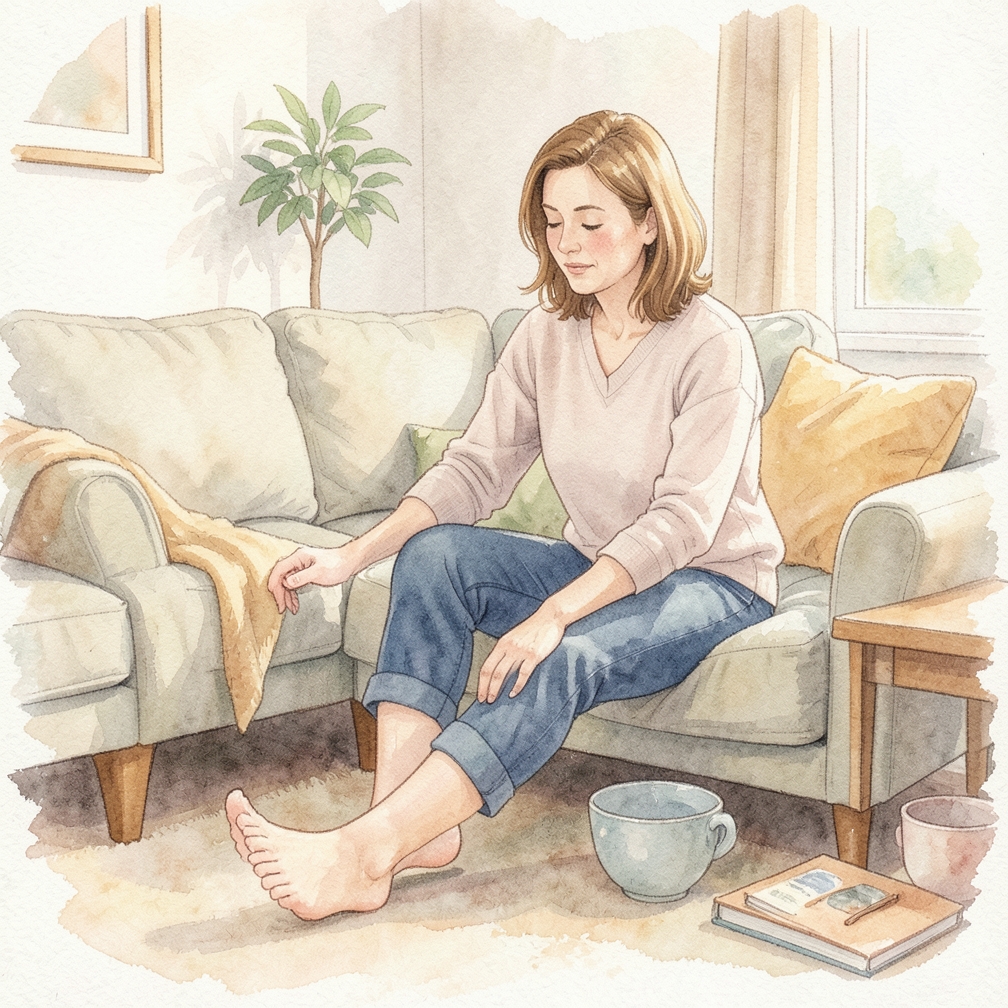
- To begin stretching your foot, sit down in a comfortable position.
- You may want to place your ankle on your opposite knee.
- Put the sock on your affected foot.
- To begin stretching your foot, sit down in a comfortable position.
- You may want to place your ankle on your opposite knee.
Secure the stretch of your foot.

- Gently pull your toes up toward your head.
- Keep your toes stretched so you feel the extension in your foot.
- Thread the shoelace or piece of ribbon you have through each loop on the tube sock.
- You should feel a gentle stretch and shouldn't feel any pain.
- Gently pull your toes up toward your head.
Take caution during the night.

- Be careful when you get out of bed during the night for any reason.
- Also use caution when you wake in the morning.
- Before you get out of bed, untie or loosen the shoelace or ribbon.
- Re-tie it when you get back into bed.
- Be careful when you get out of bed during the night for any reason.
Understanding Plantar Fasciitis
Understand the importance of taping or stretching your foot.

- Taping your foot to treat plantar fasciitis can reduce the pain associated with plantar fasciitis.
- It helps support your foot when you engage in physical activity to reduce strain.
- It can also help minimize stress and inflammation.
- Taping your foot to treat plantar fasciitis can reduce the pain associated with plantar fasciitis.
- It helps support your foot when you engage in physical activity to reduce strain.
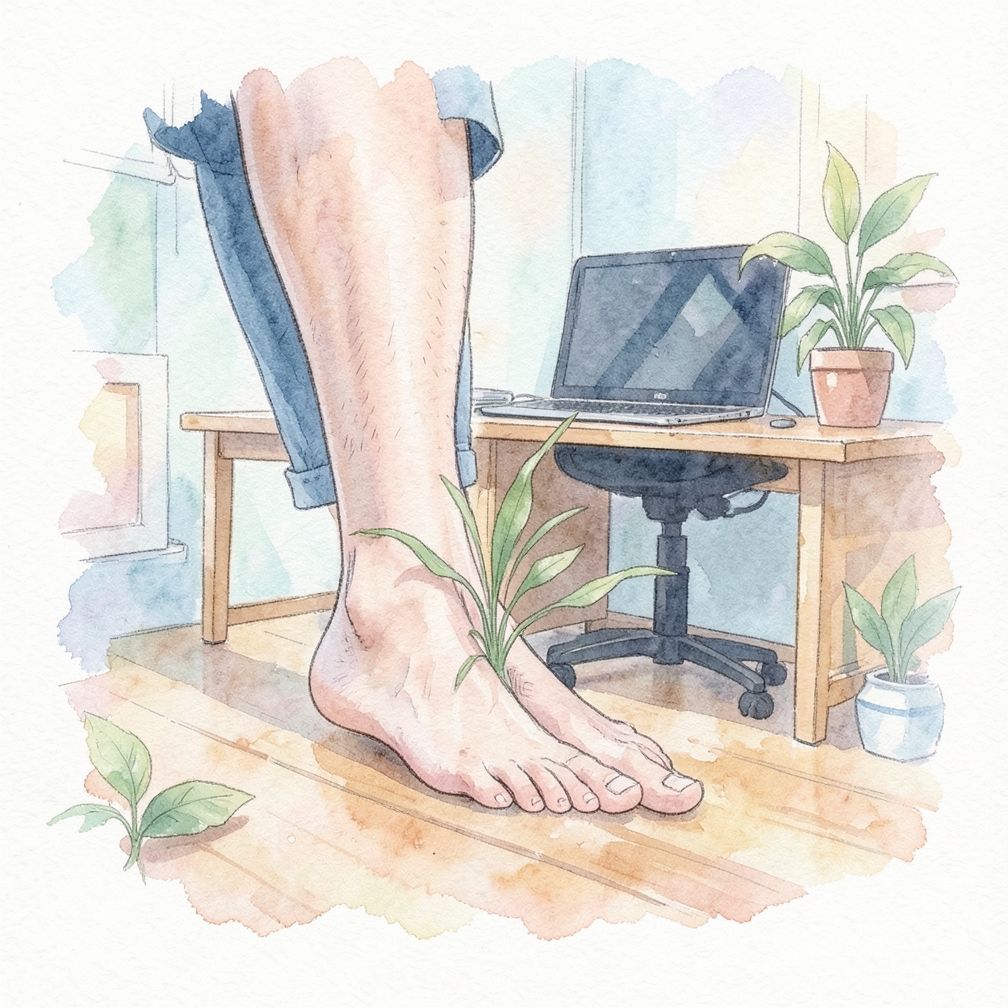
Recognize the symptoms of plantar fasciitis.

- You may start seeing symptoms when you feel pain under your heel or in the arch of your foot.
- This often occurs when you stand up in the morning or after resting your feet for an extended period of time.
- After some time walking, the pain decreases.
- You may start seeing symptoms when you feel pain under your heel or in the arch of your foot.
- This often occurs when you stand up in the morning or after resting your feet for an extended period of time.
Learn the causes of plantar fasciitis.
- The plantar fascia bears all our weight and has been described as a sort of bowstring supporting the arch of the foot.
- Anything that causes increased strain on this area of the foot can cause plantar fasciitis.
- Plantar fasciitis may occur when the plantar fascia tightens, shortens, or becomes inflamed.
- Causes include:
- The plantar fascia bears all our weight and has been described as a sort of bowstring supporting the arch of the foot.
Community Q&A
Be the first to ask a question about this guide.
References
Was this guide helpful?
45 people found this helpful
HowDadDo Around the World
Subscribe to the HowDadDo Newsletter
Get expert tips, weekly how-to guides, and dad wisdom delivered straight to your inbox. No spam, just good stuff.
Help us build the world's best
dad manual.
Every guide on HowDadDo is written and fact-checked by real people — no AI-generated fluff. Join our community of experts helping dads figure life out.