How to Handle Test a Transistor Step by Step
When test a transistor leaves you confused, worried, or unsure what it means, a clear step-by-step approach can help you sort the signal from the stress. This guide explains how to understand the situation, reflect on what matters, choose a practical next step, and know when to ask for trusted support.
Step 1: Gather the necessary tools and materials
- Make sure the multimeter is set to the correct voltage range.
- Use a low-voltage power source, such as a 9V battery.
- Ensure the transistor is properly connected to the circuit.
- Use insulated wires and connectors to prevent damage.
- Consult the transistor's datasheet for specific testing procedures.
Step 2: Set up the multimeter
- Set the multimeter to DC voltage mode.
- Choose the correct voltage range for the transistor's collector or emitter.
- Make sure the multimeter is set to display the correct unit (volts).
- Use a low-ohm resistance probe to prevent damage.
- Consult the multimeter's user manual for specific settings.
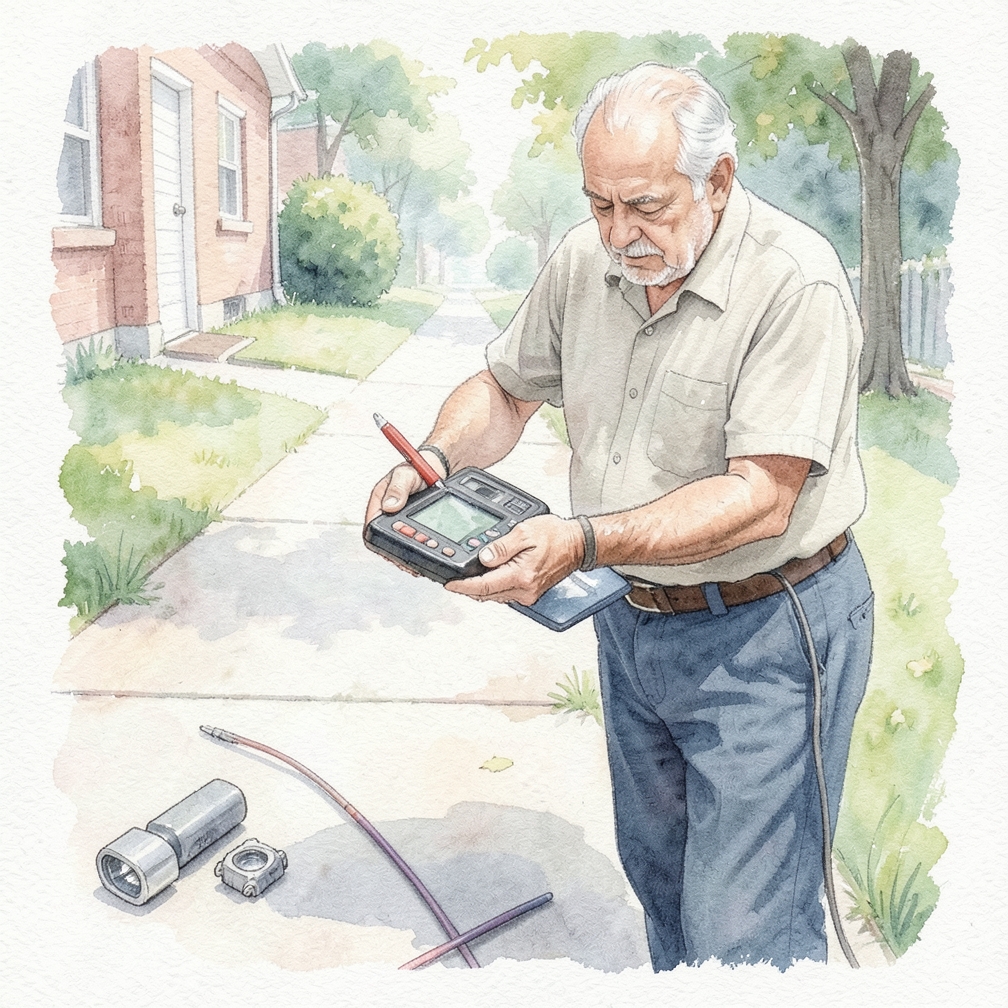
Step 3: Test the transistor

- Apply a voltage to the collector or emitter and measure the voltage drop across the base.
- Use a low-voltage power source, such as 1-2V.
- Measure the resistance of the transistor using the ohm meter.
- Compare the measured values to the expected values from the datasheet.
- Consult the datasheet for specific testing procedures.
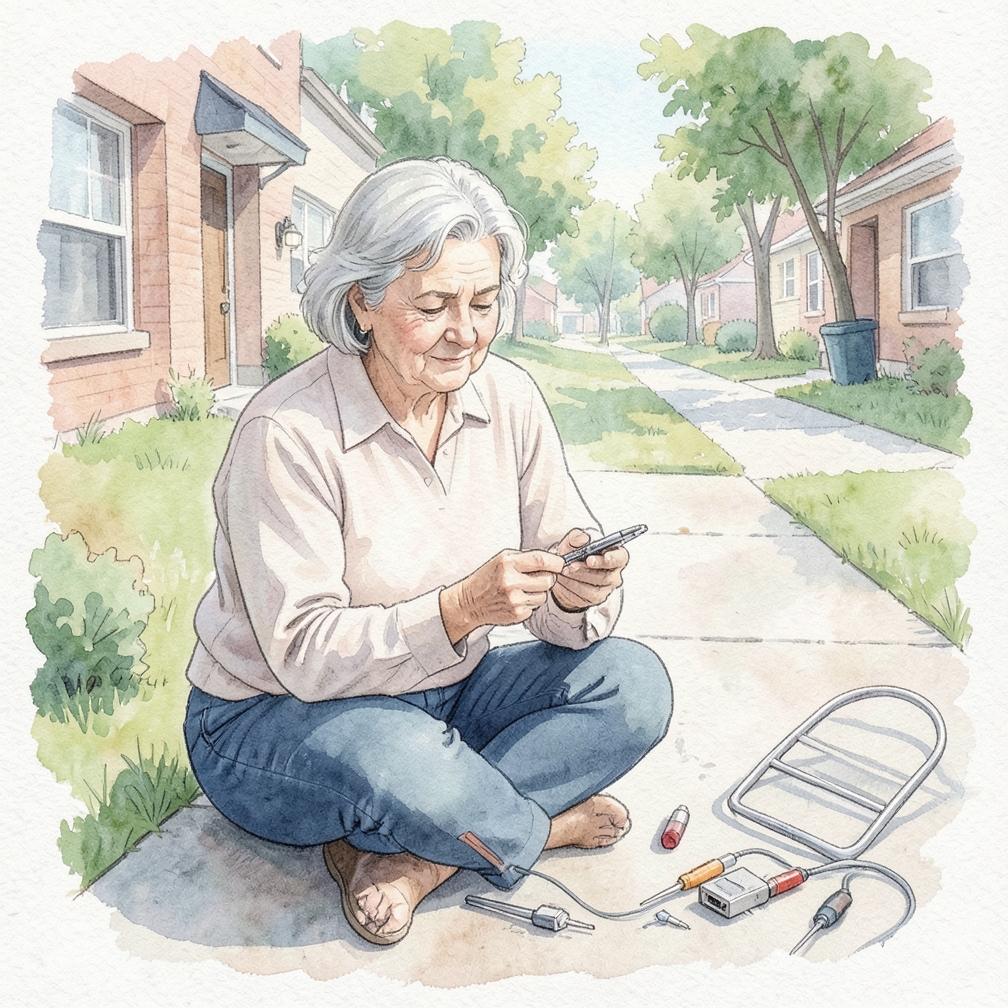
Step 4: Analyze the test results

- Compare the measured values to the expected values from the datasheet.
- Check for any signs of damage or wear on the transistor.
- Determine if the transistor is functioning correctly based on the test results.
- Consult the datasheet for specific analysis procedures.
- Now that you have tested the transistor, it's time to analyze the results.
Step 5: Document your findings

- Write down the test results and any observations.
- Include a conclusion based on the test results.
- Take photos or videos of the transistor and testing setup for documentation purposes.
- Use a standardized format for documenting test results.
- Consult relevant standards or guidelines for document formatting.
Community Q&A
Be the first to ask a question about this guide.
References
Was this guide helpful?
27 people found this helpful
HowDadDo Around the World
Subscribe to the HowDadDo Newsletter
Get expert tips, weekly how-to guides, and dad wisdom delivered straight to your inbox. No spam, just good stuff.
Help us build the world's best
dad manual.
Every guide on HowDadDo is written and fact-checked by real people — no AI-generated fluff. Join our community of experts helping dads figure life out.