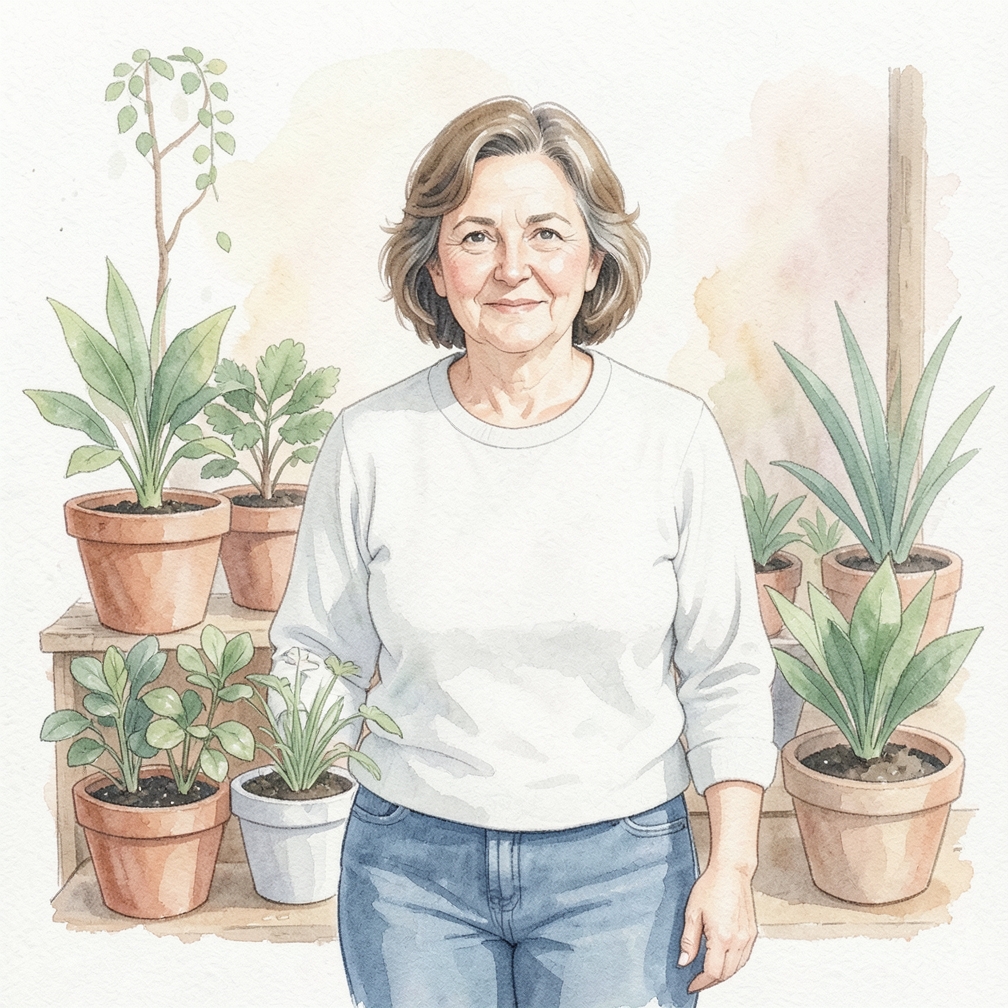
How to Make Pot Liners for Plants to Prevent Root Rot
When using beautiful decorative planters that lack drainage holes, you run a high risk of overwatering and causing root rot. Learning how to make pot liners for plants allows you to keep your greenery healthy while protecting your furniture from soil leaks and water stains. By creating a secondary internal layer, you can easily swap plants out for seasonal rotations without disturbing the root systems or making a mess of your living space.
Lining Your Pot
Choose your pot liner material.
- The most common materials are plastic and fabric, such as burlap.
- Smaller plants can even use coffee filters.
- The material you use simply depends on the size of the pot you’re lining and what material you have at your disposal.
- Look around your house for material you can repurpose into pot liners.
- The most common materials are plastic and fabric, such as burlap.
Measure the liner against the pot.
- In other words, place your liner within the planter and use a writing utensil to mark the places you’ll need to cut or trim.
- For example, if you are using a piece of burlap, place it within the planter and mark where the burlap extends beyond the rim of the planter.
- If you’re using an old plastic carton, mark where you’ll cut the plastic so that it nestles discreetly into the pot.
- In other words, place your liner within the planter and use a writing utensil to mark the places you’ll need to cut or trim.
- For example, if you are using a piece of burlap, place it within the planter and mark where the burlap extends beyond the rim of the planter.
Trim your liner.

- Typically, you will want to cut it so that it’s not easily visible, and it appears that the plant is directly placed in the decorative pot or planter.
- However, you should leave enough material so that you can grasp it when you need to pull out the liner from the pot.
- Using sharp scissors, cut the liner material along the marks you made against the planter.
- Place it in the pot, and double check if you need to trim again.
- Typically, you will want to cut it so that it’s not easily visible, and it appears that the plant is directly placed in the decorative pot or planter.
Cut drainage holes in the bottom of the liner.
- The holes should be dispersed evenly along the bottom of the liner, and they should be big enough just to let water drain out but not so big that you are losing chunks of soil every time you move the pot.
- That will defeat the purpose of your liner!
- The drainage holes are absolutely crucial for healthy plants.
- If the roots are constantly soaked, they cannot get the air they need.
- Plants often die from sitting in stagnant pools of water and developing rot.
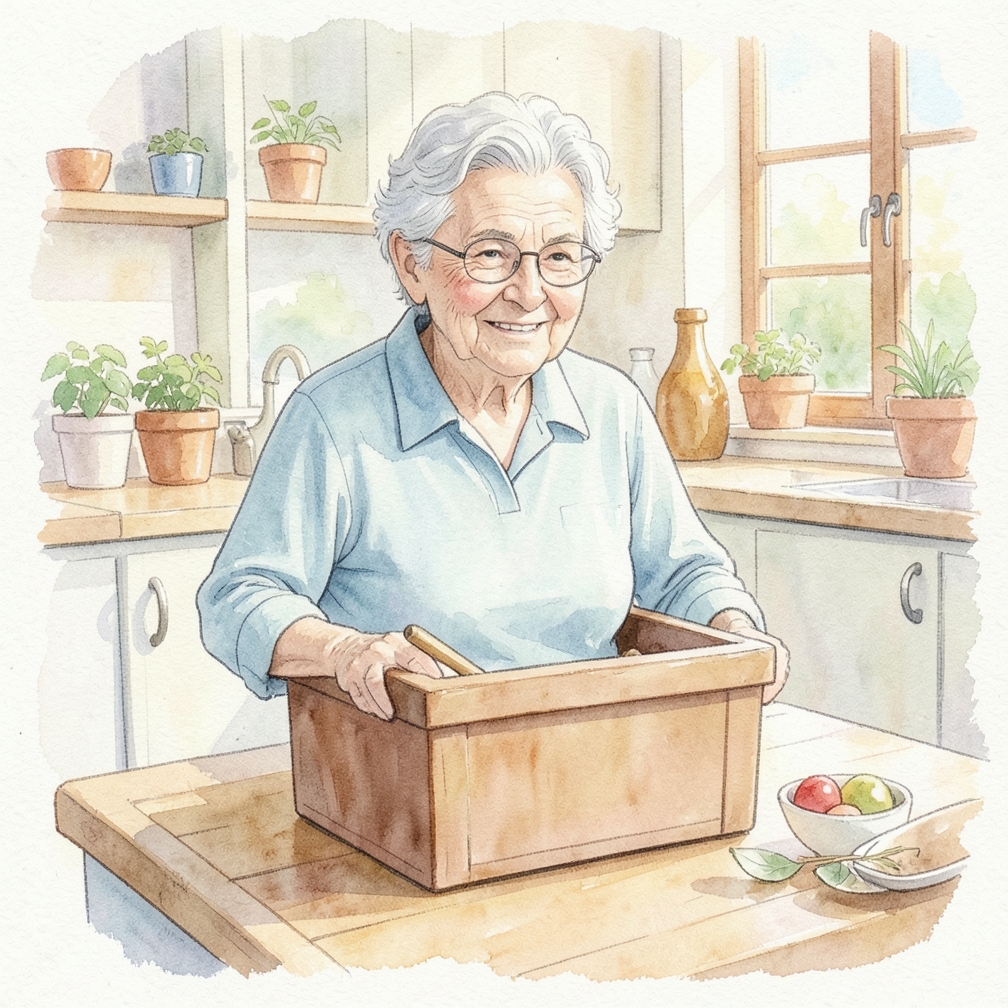
Planting
Fill your liner with potting soil.
- The potting soil you use will depend on the plant.
- A good soil will hold moisture and nutrients at the roots, while still allowing them to breathe.
- You can find various potting soils at any store that sells gardening supplies.
- Look for ones that specifically contain peat moss, pine bark, and perlite or vermiculite.
- Fill the pot about half way before placing the plant.
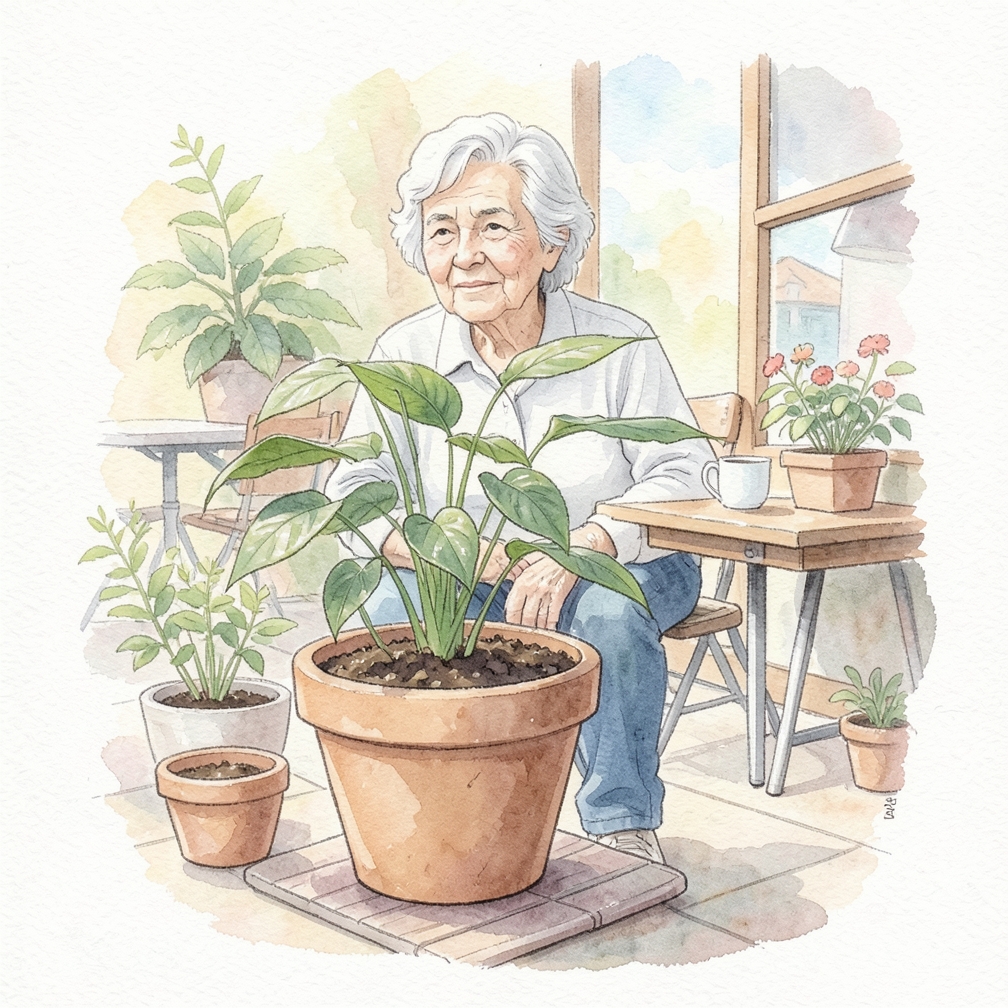
Place your plant in the soil.
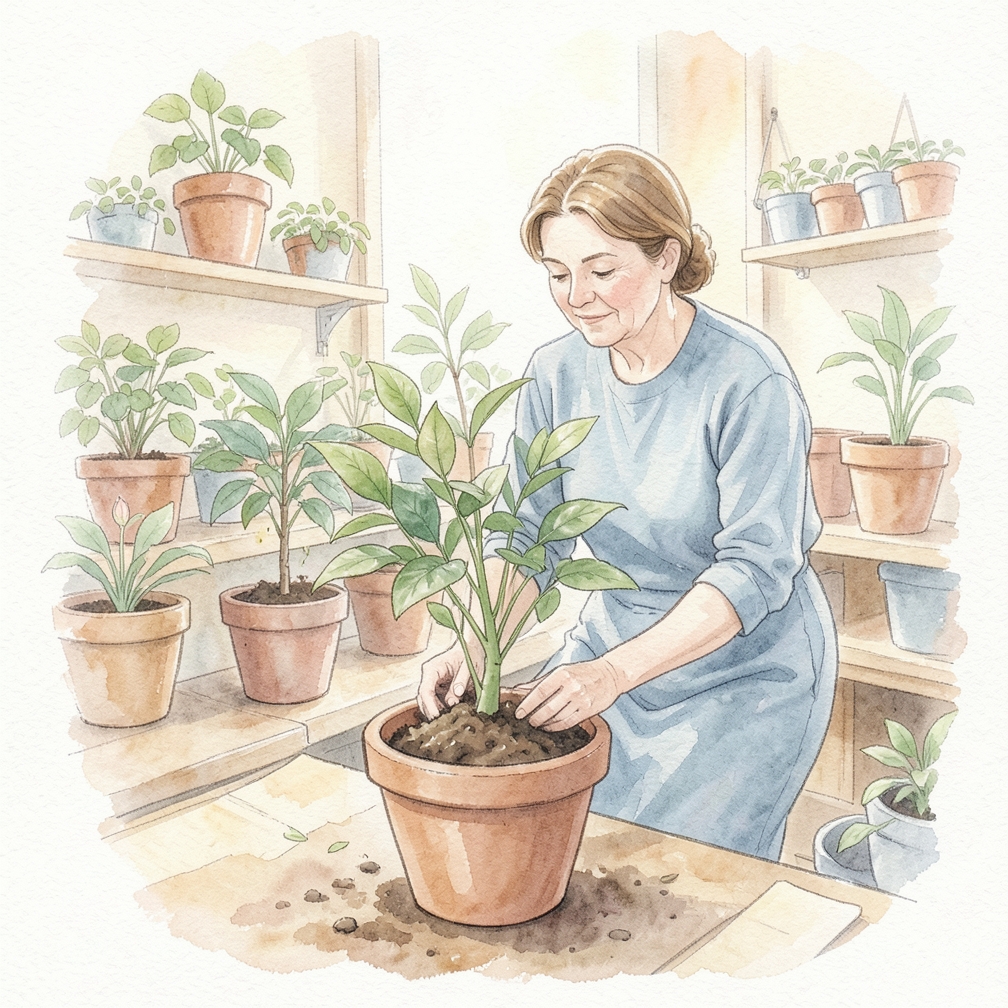
- Gently place the plant into the potting soil.
- Make sure not to disturb the roots, and handle them with care.
- The goal is to provide a healthy environment for your plants to thrive in.
- Once you’ve placed the plant, water it gently but thoroughly to settle the soil around the roots.
- Gently place the plant into the potting soil.
Place your pot in sunlight and water regularly
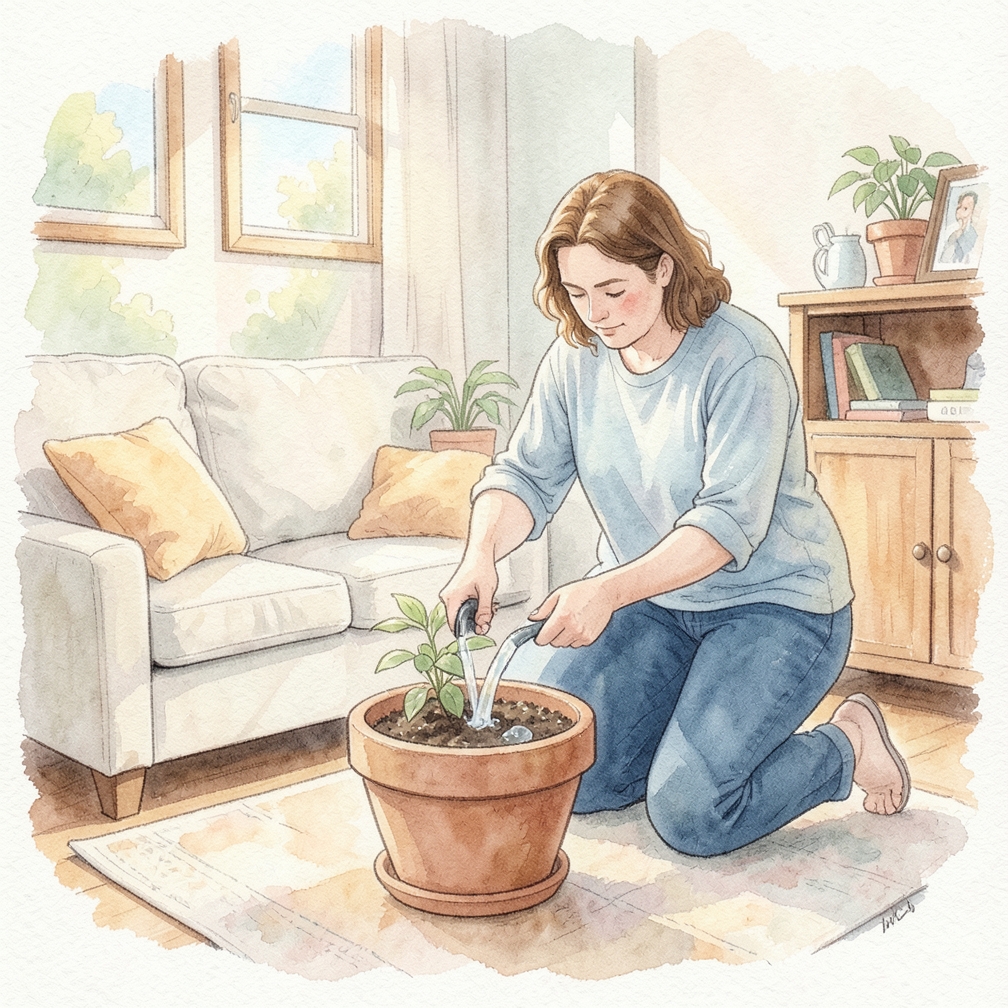
- After planting, place your pot in a sunny location.
- Watering is essential for healthy plants.
- Make sure not to overwater, as this can cause root rot and other problems.
- Check the soil moisture by sticking your finger into it, and only water when necessary.
- After planting, place your pot in a sunny location.
Pro Tips
- Use a saucer under the decorative pot for an extra layer of protection against leaks.
- Label your liners if you have multiple plants to keep track of their specific watering needs.
Warnings
- Do not use a non-porous liner; if water cannot escape the liner, the plant will likely die from root rot.
- Be careful when lifting heavy liners out of pots to avoid straining your back or breaking the ceramic.
Community Q&A
Q Can I use a fabric liner instead of plastic?
A Yes, fabric liners (like felt or landscape fabric) are excellent for aeration, but they may allow more soil particles to seep into the decorative pot over time compared to plastic mesh.
Q How often should I empty the water from the bottom of the decorative pot?
A This depends on your watering frequency, but generally, you should check and empty the reservoir once a week to prevent stagnant water and odors.
References
Was this guide helpful?
25 people found this helpful
HowDadDo Around the World
Subscribe to the HowDadDo Newsletter
Get expert tips, weekly how-to guides, and dad wisdom delivered straight to your inbox. No spam, just good stuff.
Help us build the world's best
dad manual.
Every guide on HowDadDo is written and fact-checked by real people — no AI-generated fluff. Join our community of experts helping dads figure life out.